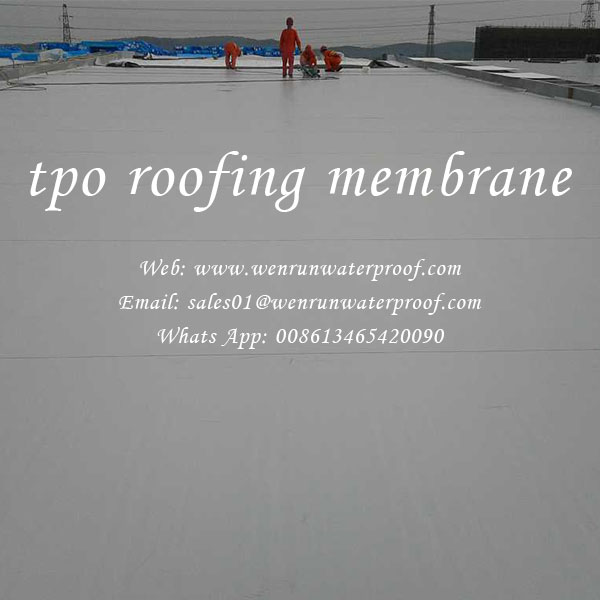
More and more large and medium-sized houses will choose TPO waterproofing membrane for ground waterproofing construction, and the performance of TPO waterproofing membrane materials has also been well reflected. The following is a brief introduction:
一. The bottom layer regulations.
1. The surface of the base layer should be cleaned of dust and dirt, the residual mortar blocks and protruding parts on the surface should be cleaned, and the wall should not have defects such as hollowing, cracking, sanding, and peeling.
2. The bottom layer is dry and the moisture content should be less than 8%.
3. The bottom angle of the Yin and Yang corners should be made into arcs or acute angles, and the radius of the arc should exceed 20 mm.
4. The acceptance of the foundation project is completed.
二. Production process:.
Bottom layer cleaning. → Precise positioning and laying. → Strengthen the connection point location solution. → Glue drainage → Laying waterproof membrane → Roll steel overlap → Closing → Structural engineering acceptance.
三. Project construction points:
1. Remove the bottom layer, remove dust, fine sand and dirt, and clean it.
2. Before paving, arrange the specifications on the glue-free bottom surface, pop up the marking line as the benchmark for paving the waterproof membrane.
3. Apply primer to the separation seams such as exhaust ducts and bottom layer joints, and add an additional layer of waterproof membrane. Dry at room temperature for more than 5-10 minutes, and when your fingers are no longer sticky, you can apply another layer of waterproof membrane as an additional layer.
4. Open a whole piece of waterproof membrane, spread it flat and neatly, and on the leveled bottom layer, relax the internal stress of the waterproof membrane, lift the waterproof membrane from one end, and fold the other end in half. The bottom layer should be fully primed, and the surface of the waterproof membrane should be fully primed. Leave 100 mm of glue at the joints. The thickness of the glue should be symmetrical, and there should be no exposed or suspicious glue blocks. Leave it at room temperature for 5 to 10 minutes, which means it needs enough time to dry (not sticky to the touch).
5. The waterproof membrane connecting the vertical wall and the plan should be laid from bottom to top, leaving a joint on the plan. The spacing between the inner and outer corners of the waterproof membrane is greater than 200mm, the spacing between the short seams of the two waterproof membranes is greater than 500mm, and the overlap of the long side steel bars is not less than 80mm.
6. Exhaust pipe and extrusion molding: After laying each waterproof membrane, use a pressure roller to start from one end of the waterproof membrane and gradually squeeze along the long side of the waterproof membrane to completely exhaust the gas and make the waterproof membrane firmly bonded. TPO waterproof membrane mechanical equipment fixing system construction technical plan.
7. Solve the joint: After the Hummer bridge is laid, open a joint 100mm away from the primer, clean the steel bar overlap surface with a solution, and after the organic solvent evaporates, evenly brush the joint on both sides of the waterproof membrane joint. After applying the glue for 10 minutes, when it no longer sticks to your hands, you can gradually start from one end and squeeze while squeezing to overlap the attached steel bars. Wrinkles, bubbles and other defects are not allowed.
8. The ground waterproofing membrane is sealed in the groove around or below the drip line, and the civil construction company uses mixed mortar for sealing.